Mount Kilimanjaro Photos - Machame Route
These Mount Kilimanjaro photos take you along the Machame route.
(The Lemosho Route and Shira Route also join the Machame Route after a few days and follow the same trail for the remaining days.)
Follow the Machame trail, a scenic climb traversing Kilimanjaro's slopes beneath its southern glaciers.
This trek can be done in six days but the seven day version has a much higher success rate.
(Read in detail about climbing Kilimanjaro on the Machame route.)
Mount Kilimanjaro Photos: 1-5
Machame Route, Day 1
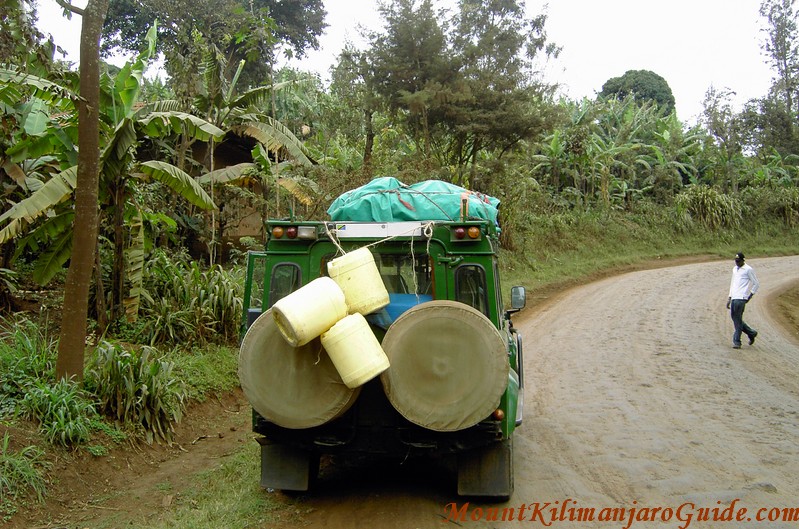 The last kilometers of the road to the Machame Gate are unsealead.
The day begins with the transfer to the Machame Gate. Pray that the weather at Kilimanjaro will be reasonable. If it rains too much the last kilometres of the unsealed road can become impassable and you have to walk.
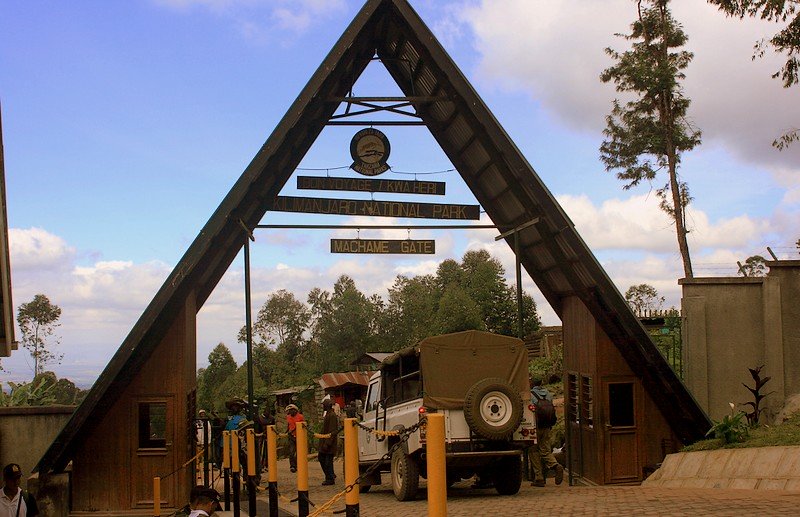 Machame Gate, photo by Abir Anwar.
On a dry day you arrive at the Macham Gate in your vehicle. You complete registration formalities, meet your guides, all your gear is distributed amongst the porters, and then you are off...
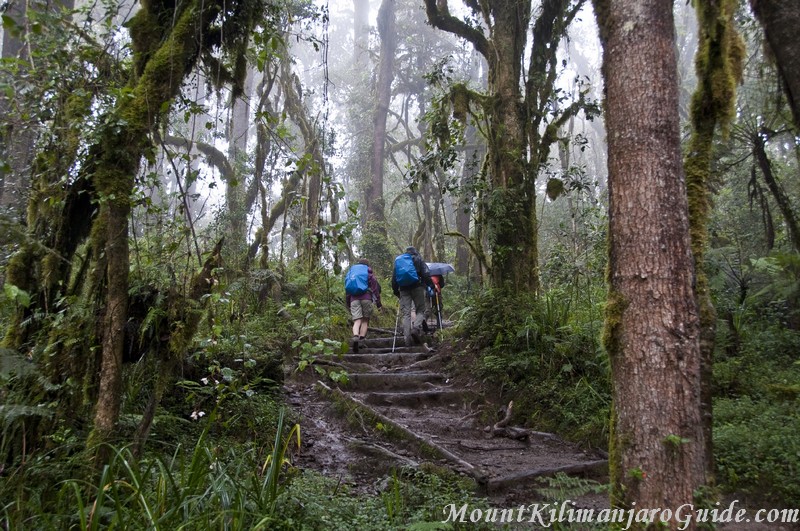 Rainforest on the Machame Trail. © Uta Philipp.
The first day on the Machame trail leads through a dense fairy tale forest of tall trees with moss covered branches, tree ferns and dangling lichen. And usually it's not dry!
As you climb higher and higher towards your first camp, the forest gradually opens up.
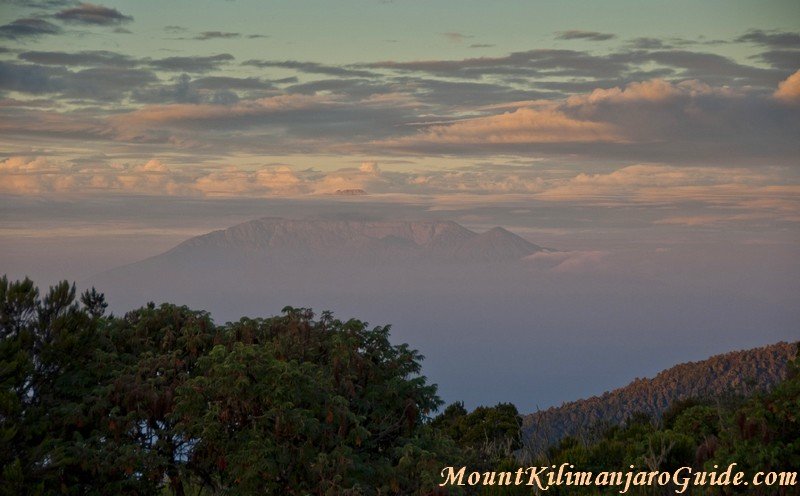 Mt. Meru seen from Mt. Kilimanjaro, © Uta Philipp.
Your first camp is sometimes called Machame Huts, but there is no hut accommodation here. You only get hut accommodation on the Marangu Route. On the Machame route you camp all the way.
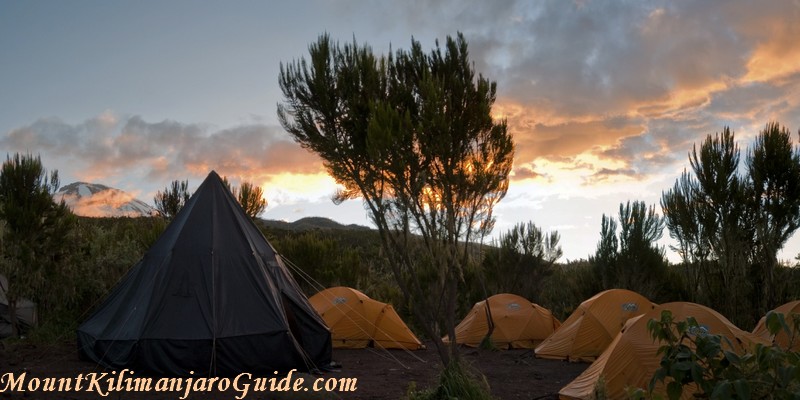 Sunset at Machame Camp. © Uta Philipp.
Mount Kilimanjaro Photos: 6-9
Machame Route, Day 2
The Machame Huts marked the altitude where the forest disappears and
gives way to the giant heathers of the Moorland Zone. The trail is much
steeper today, and it may still rain.
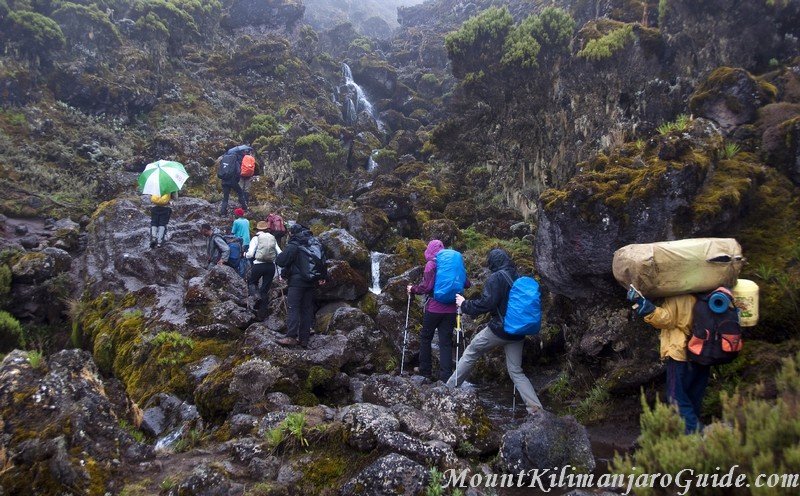 The path gets steeper and it may still rain. © Uta Philipp.
After a few hours you reach the edge of the Shira Plateau and the path levels out. The huge Shira Plateau is what's left of Kilimanjaro's third peak (the other two being Mawenzi and Kibo).
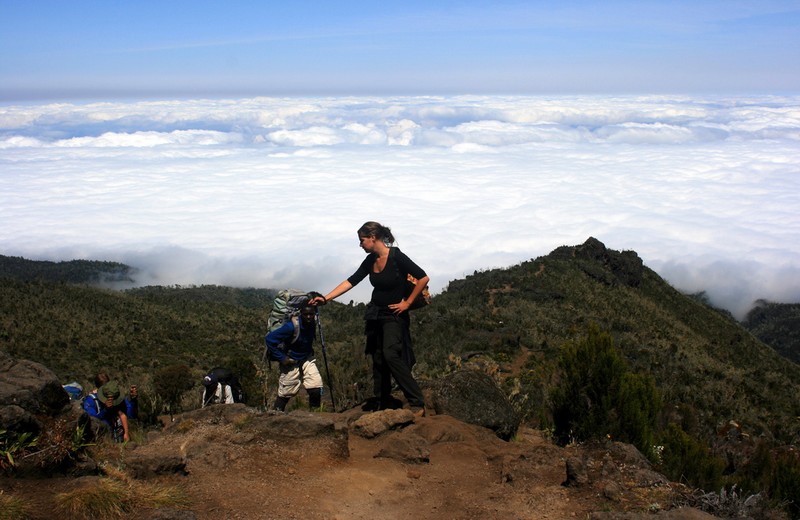 Reaching the Shira Plateau, photo by Abir Anwar.
From here it's not far to the new Shira campsite, a site with great views and even greater sunsets.
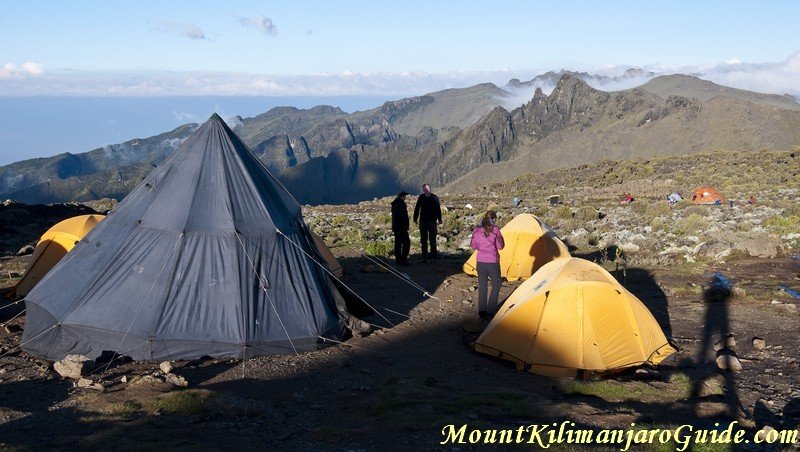 Late afternoon at Shira Camp. © Uta Philipp.
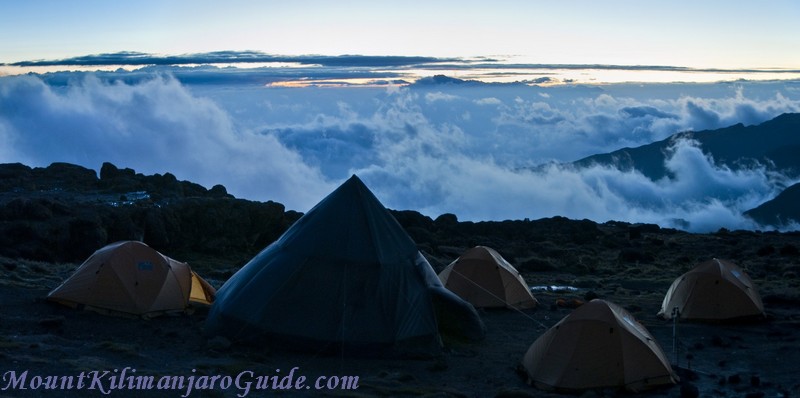 Viewing the sunset from Shira Camp. © Uta Philipp.
Mount Kilimanjaro Photos: 10-16
Machame Route, Day 3
 On the Machame Route, day 3. © Uta Philipp.
Day three is a long and tough day. The first part of the day is spent climbing towards the Lava Tower to a height of 4640 m/15220 ft. (And yes, Machame is a crowded route.)
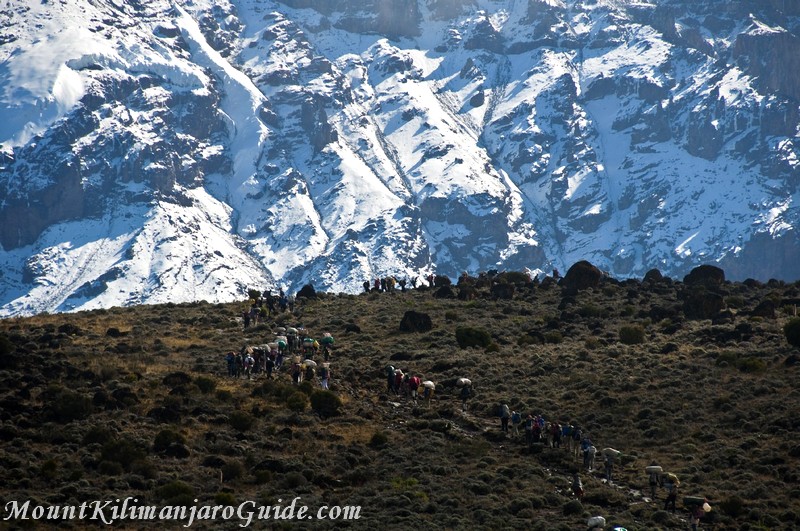 Climbers and Porters on the Machame Route, on the way from Shira to Lava Tower. © Uta Philipp.
You are now so high, the vegetation disappears altogether.
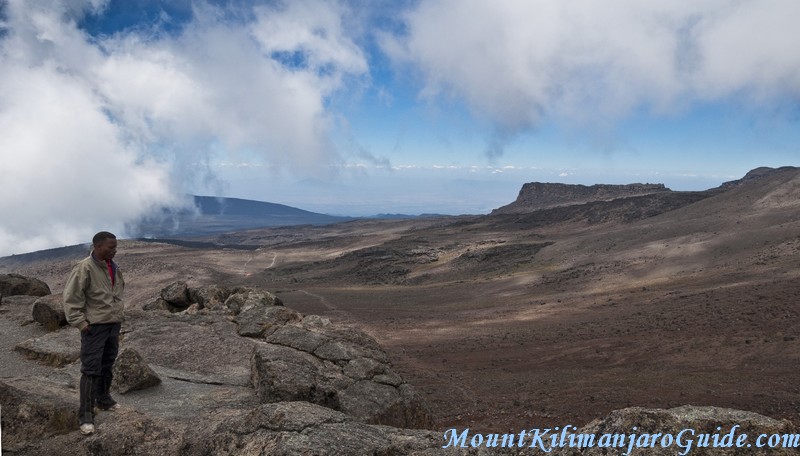 Barren Landscape. © Uta Philipp.
Once you get there, people with energy to spare can even climb the Lava Tower.
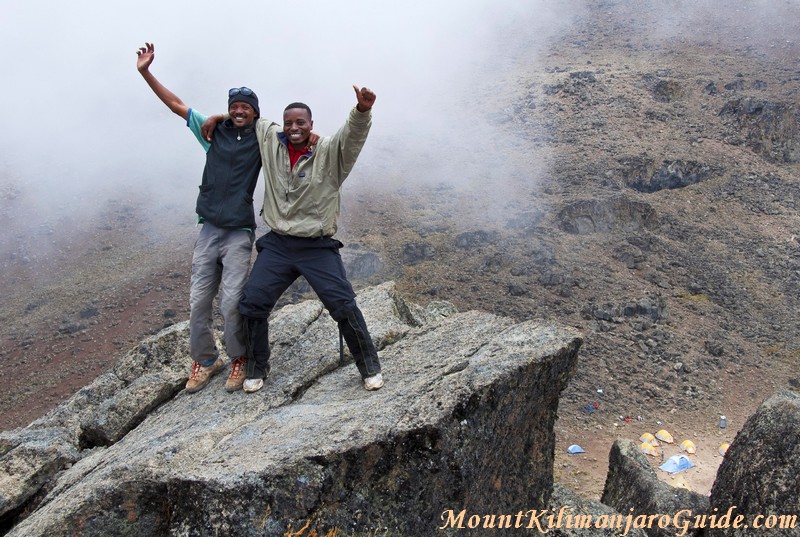 Lava Tower summit. © Uta Philipp.
There is a camp at the Lava Tower, but you won't be using it (people on the Shira or Lemosho routes may.)
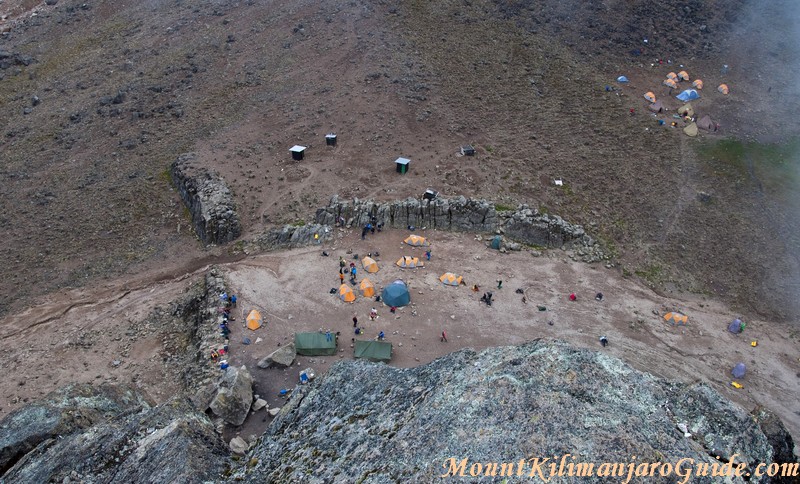 Lava Tower Camp seen from Lava Tower summit. © Uta Philipp.
After lunch you continue, losing all that hard earned altitude again as you descend into the Barrano Valley.
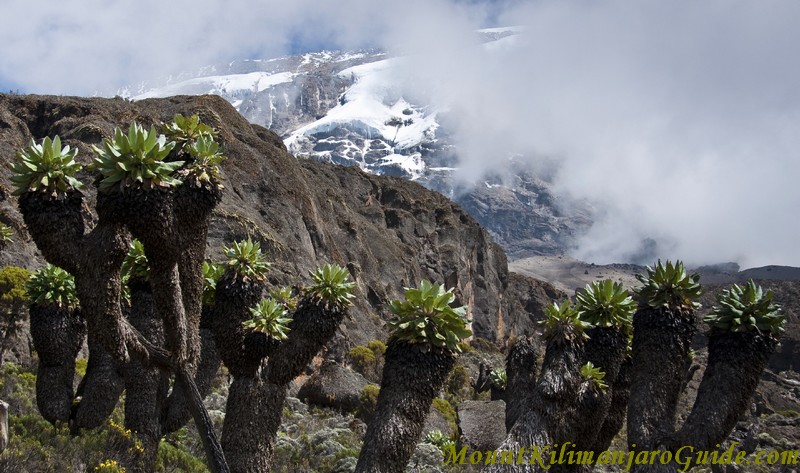 Senecios in the Barranco Valley. © Uta Philipp.
It's cooler and moister in the protected valley, perfect conditions for the giant senecios and lobelias that grow here.
The Barranco Camp is in a stunning location, right underneath the great Barranco Wall and with spectacular views all around.
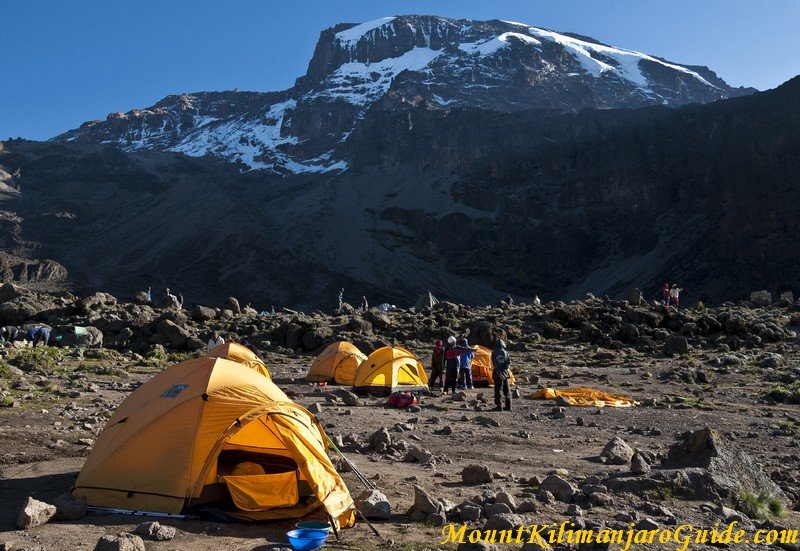 Barranco Camp. © Uta Philipp.
Mount Kilimanjaro Photos: 17-24
Machame Route, Day 4
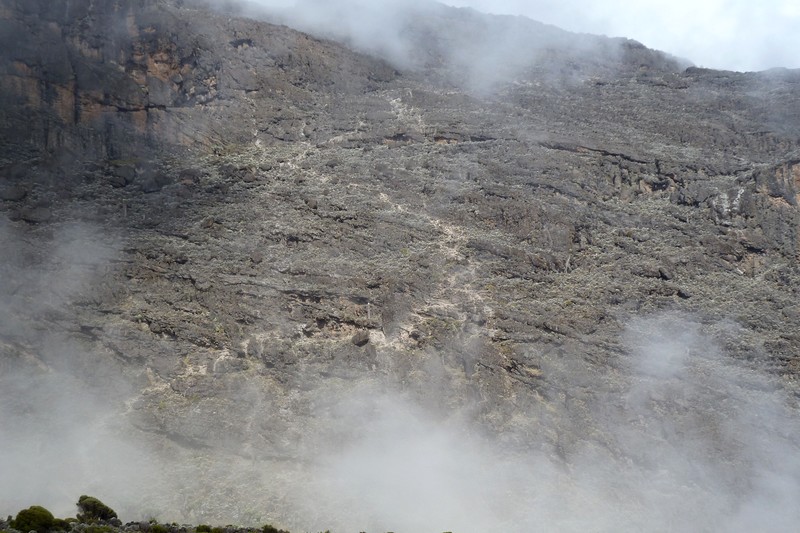 The Barranco Wall, photo by Mosaic Marketing.
This is it, the Barranco Wall. And you will be tackling it first thing in the morning.
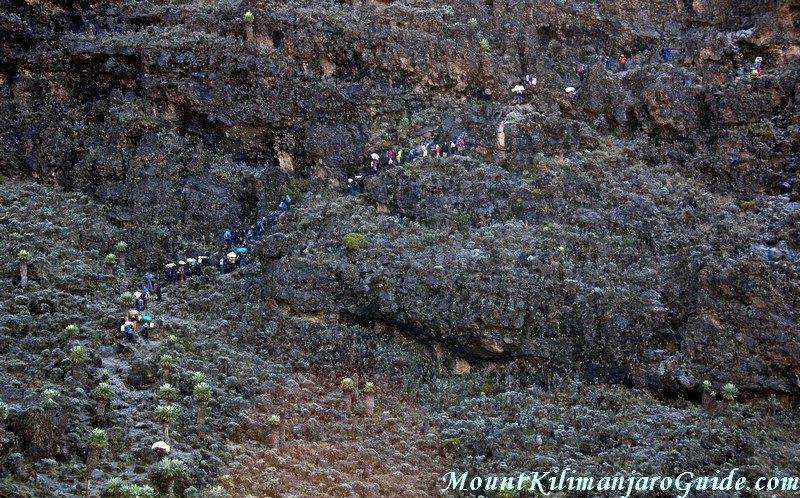 Climbers and porters hiking up the Barranco Wall. © Uta Philipp.
The Barranco Wall takes about one and a half hours to scale, and it looks a lot more difficult than it is. Here is a couple of close ups to give you an idea of what to expect.
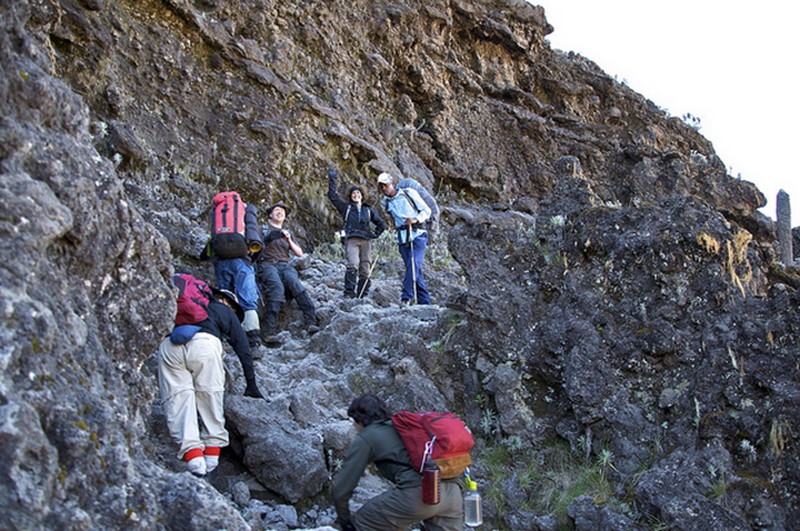 Scrambling up the Barranco Wall, photo by Thomson Safaris.
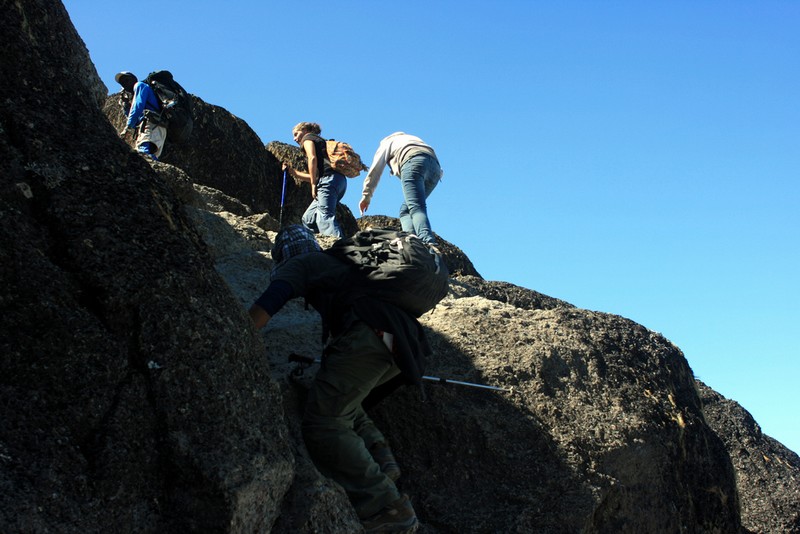 Last metres of the Barranco Wall, photo by Abir Anwar.
Once you reach the top you have a good rest (at this altitude it IS a strenuous climb after all) and enjoy the great views all around.
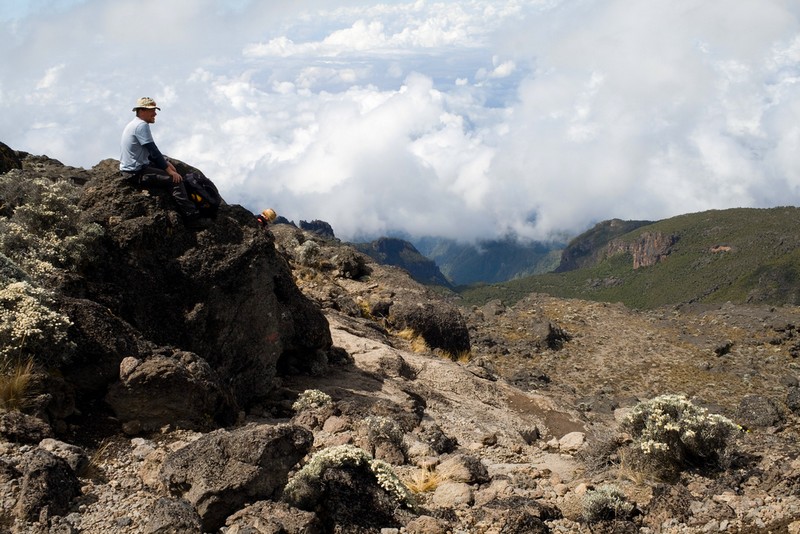 Having a rest atop the Barranco Wall with views over Barranco Valley, photo by Stig Nygaard.
You continue down a much easier slope, towards the Karanga Valley.
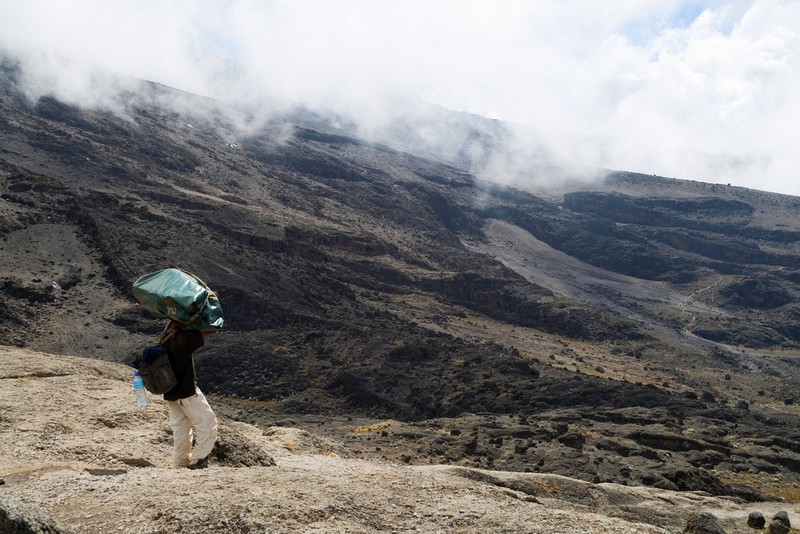 Descent towards Karanga Valley, photo by Stig Nygaard.
To get to Karanga you cross several smaller
valleys on the way, and your camp for tonight is on the other side of
the Karanga Valley. Another climb!
It is this constant up and down that makes the climb on the Machame Route so much harder than the Marangu Route or Rongai Route.
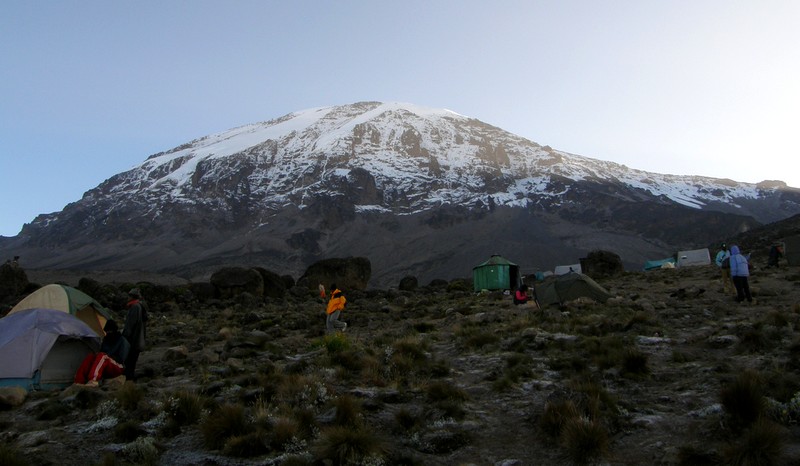 Karanga Valley Camp, photo by Birger Kühnel.
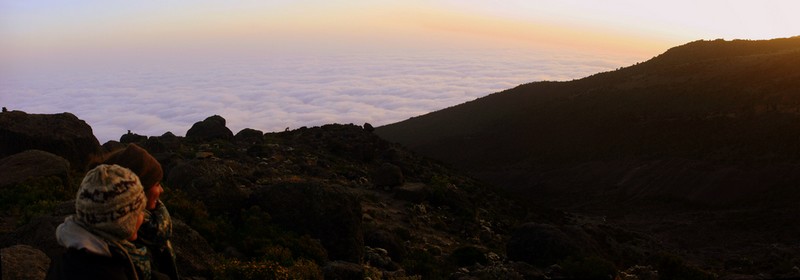 Sunset viewed from Karanga, photo by Abir Anwar.
Mount Kilimanjaro Photos: 25-26
Machame Route, Day 5
Today is a short day. You leave the Karanga Valley on an easy but steep
path through an increasinlgy inhospitable landscape. The path keeps
getting steeper until you reach the Barafu Camp for lunch.
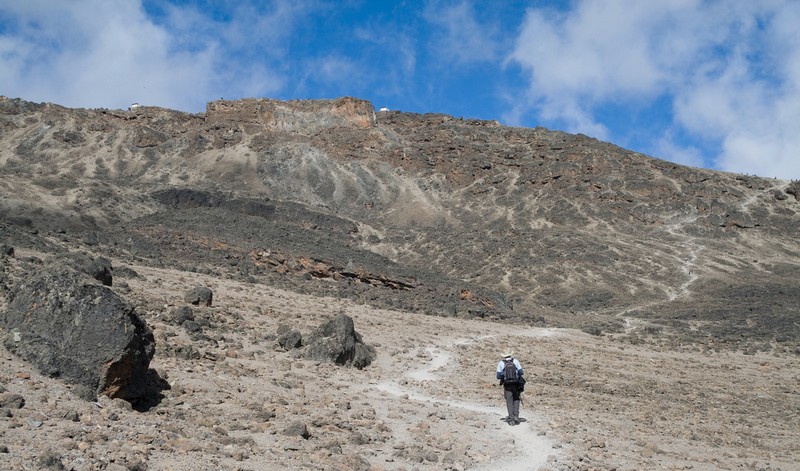 Heading towards Barafu Camp (located on the ridge in the background), photo by Stig Nygaard.
Barafu Camp sits on an exposed, rocky ridge. Better have a good look around in the afternoon so you don't accidentally step off it at night.
This is the benefit of having the extra day at Karanga Valley in your schedule. You now have all afternoon to rest, recover and prepare for tonight. You need all the rest you can get. Not only will the night be short. Sleep will be difficult to come by, because of the altitude, the anticipation, and last but not least, because the campsite is anything but flat...
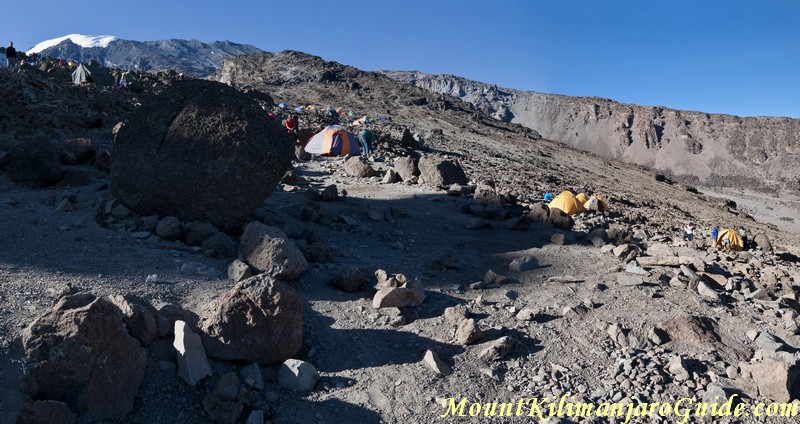 Barafu Camp. © Uta Philipp.
Mount Kilimanjaro Photos: 27-29
Machame Route, Day 6
You will be setting out on your trek to the summit some time around midnight. The way to the rim is an endless succession of switchbacks on a steep scree slope, but you won't be seeing any of it. You'll just see the little circle of light from your head torch, your feet, and the feet of the person in front of you.
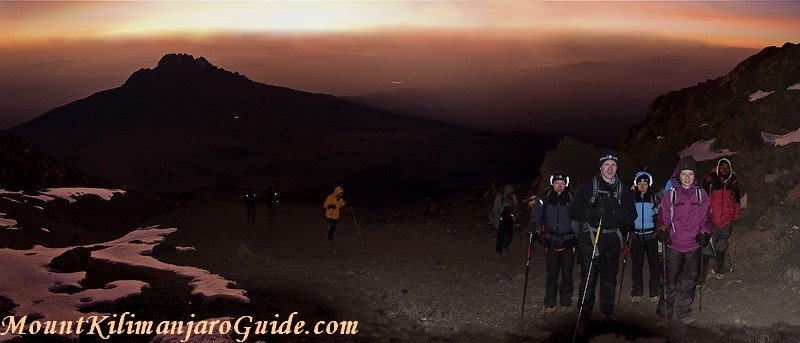 Dawn on summit day! © Uta Philipp.
Some people manage to make it to Uhuru Peak in time for the sunrise, but you can see the sunrise from any point on the crater rim or even on the way up. No need to rush...
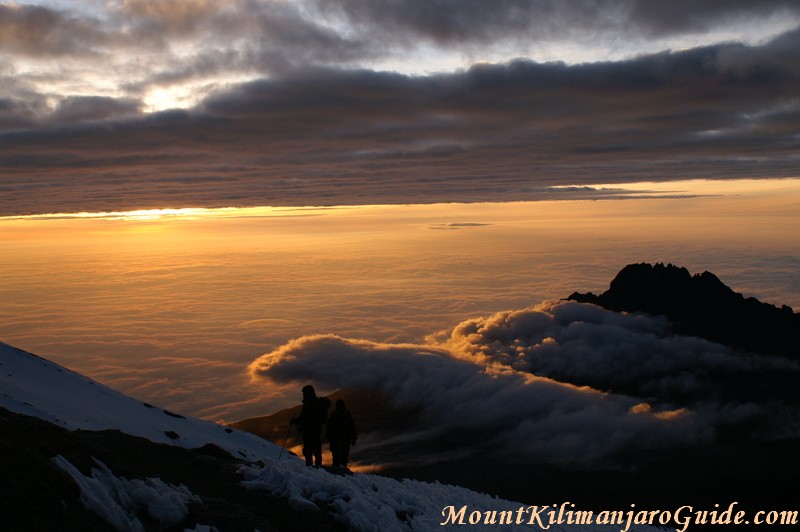 Sunrise view from Stella Point. (Mawenzi Peak in the background.)
This is what a sunrise on Kilimanjaro looks like from Stella Point, the point where you will be reaching the crater rim.
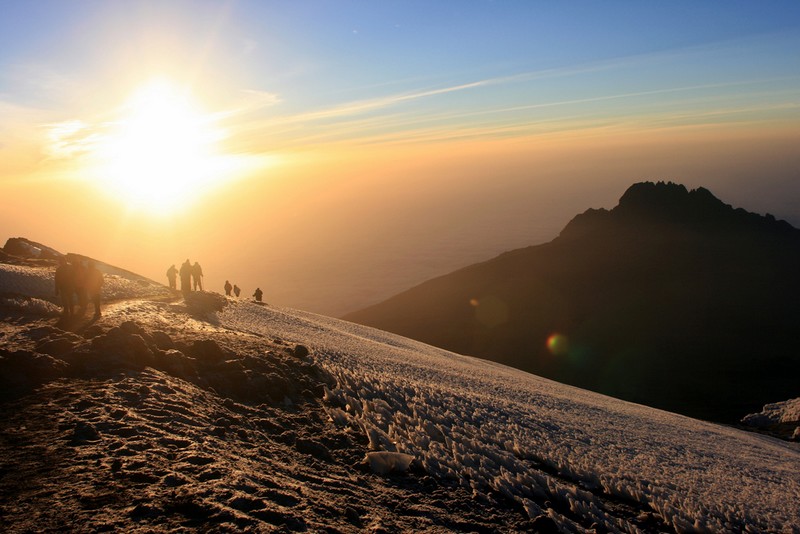 Stellar sunrise at Stella Point, photo by Abir Anwar.
If you make it to Stella Point the park authorities will reward you with a certificate for climbing Kilimanjaro. And for some people the temptation to turn around now is too big...
But I hope you won't think about turning back now!
To continue to Uhuru Peak from here allow another hour or so, and up to two for the round trip.
For many people the walk along the Kilimanjaro crater rim is the best part of the whole experience, and this is the part where you will be passing what's left of Kilimanjaro's glaciers: Reaching the summit of Kilimanjaro
Next: Rongai Route Pictures
Read a detailed description of the Machame route
Do you need help with all this?
Would you like to contact a responsible and trustworthy tour operator with competitive prices?
Get some free, no obligations advice on route selection, duration and timing?
I regularly receive emails asking me if there is a tour operator I personally can recommend.
There is and you can contact my preferred operator through this page.